Your computer’s motherboard is a critical component that plays a major part in what other components you can and can’t install. Motherboards have a reputation for being finicky to troubleshoot, however, which keeps some PC enthusiasts fearful of ever touching it, let alone attempting to replace one. On rare occasions, you might even have motherboard issues with a new PC — these include random reboots, refusing to boot up, and continual crashes citing fatal exceptions, illegal operations, and general protection fault error messages.
Fortunately, some of the most common problems you can run into with your motherboard are relatively easy to fix. All you need is a little patience.
Not enough power
Yes, listing “check the power� as the first step in any guide is a bit cliché, but it’s an absolute must here as motherboards have not just one power connection but two. There’s a main 20-to-24-pin connector and a second four- or eight-pin connector hidden away by the processor socket. Many people forget the second connector — we’ve done it before in our early PC building days, so you should check to make sure that both are plugged in correctly. Unplug and plug them back in if you’re unsure how well fitted they are.
Make sure both plugs are fully seated and properly matched with the correct power supply cords. This will solve many issues, particularly those that crop up when installing a new motherboard for the first time. You should also consider running hardware and utility diagnostics if it is possible to do so on your PC, such as the Intel Processor Diagnostic Tool, CPU-Z, and PassMark Performance Test.
Improperly installed components
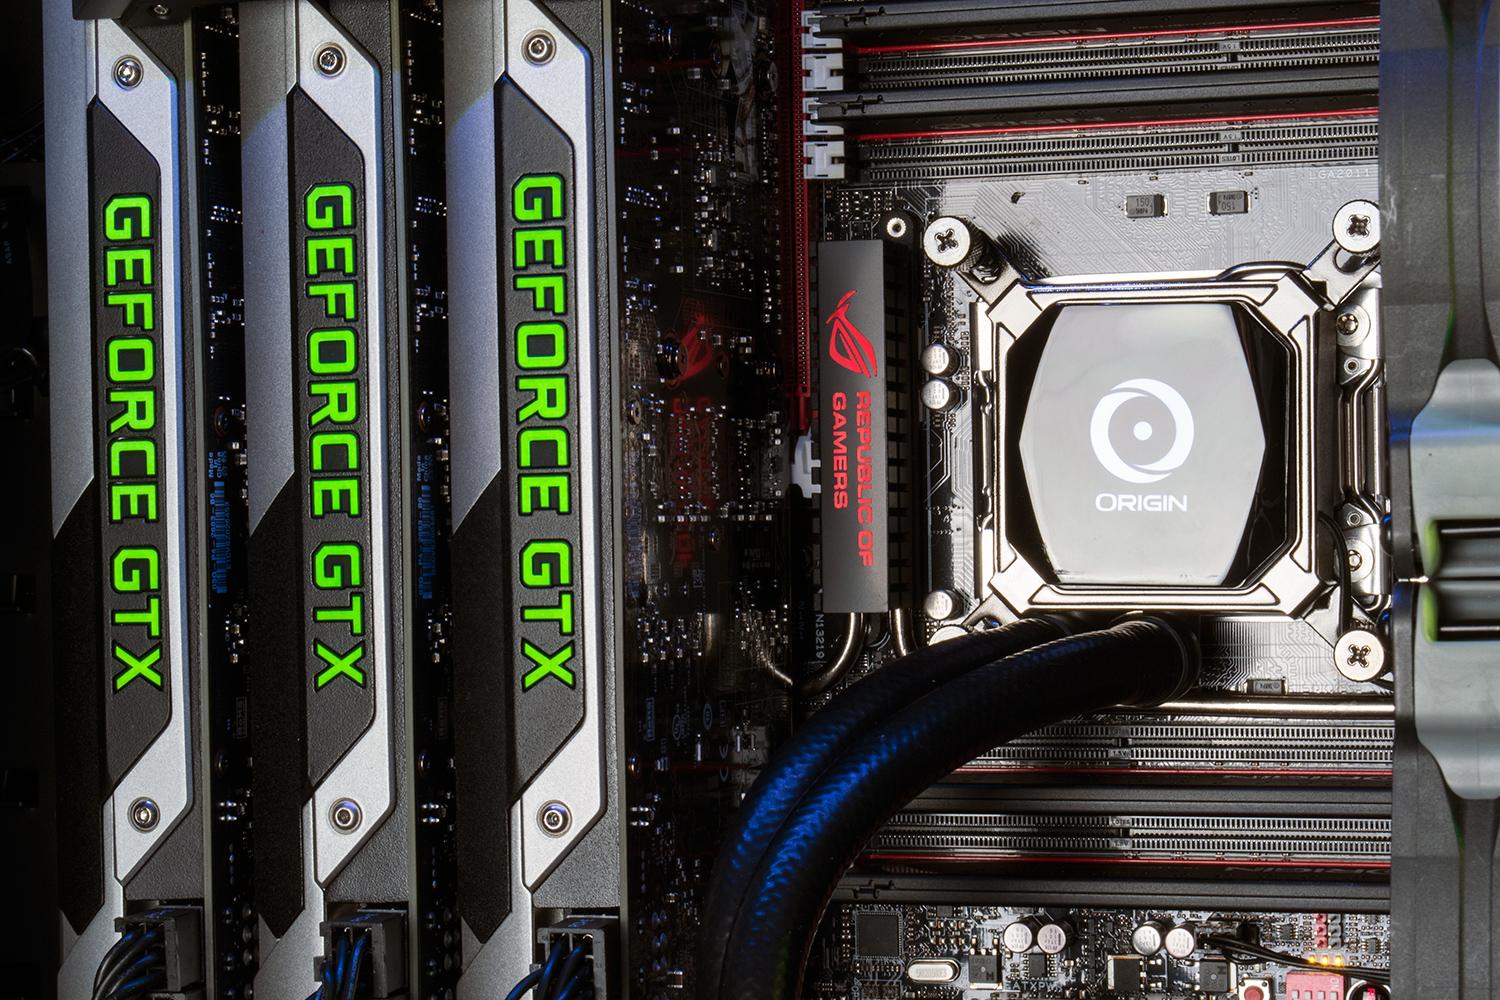
Components can cause a motherboard to malfunction if they’re not properly installed. In some cases, your computer may not even get through POST (a self-testing mechanism employed by PCs during boot-up) or even turn on. Potential culprits include the processor, video card, and RAM.
Improper seating of the video card and RAM are the most likely sources of your problems, because issues in those areas are easy to overlook. Examine the video card, and make sure that it’s evenly seated across the width of the PCI-Express slot. Then, give it a firm downward push, just to be sure.
The RAM slot has two plastic wings that should snap over the sides of each stick of memory. These should be standing upright 90 degrees from the motherboard’s surface and securely inserted around the tabs found on each side of your RAM sticks. If one or both wings are slightly askew, the RAM isn’t properly installed.
Properly installing a processor is much more difficult but worth checking if you’re really stumped. The pins and the slot on the processor and motherboard must be properly lined up. Once inserted, the processor should sit flat on the socket’s surface. The processor’s heatsink should also attach firmly.
For more help on installing or reinstalling a processor, check out our guides to installing Intel and AMD CPUs.
A short circuit
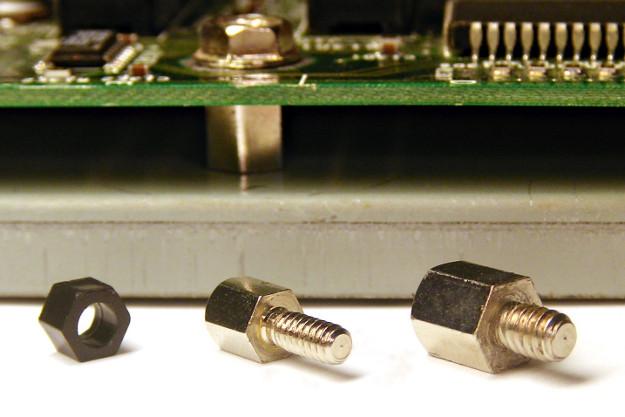
Motherboards are filled with capacitors and soldered connections that route data and power from one part of the board to another. As you may have noticed, the motherboard is held aloft from the PC case by a series of screw-in “standoffs� that are about a quarter-inch thick. These exist because the motherboard can short if it makes contact with other metallic components — causing the capacitors to blow out, bulge, and even leak fluid — which makes performing a physical inspection of components crucial to diagnosing issues. However, unless you are extremely confident with your skills with a soldering gun, replacing your capacitors is best left to professionals.
A motherboard experiencing a short may not get through POST, may complete POST but then behave erratically, or may boot but then crash at random. A failure to pass the POST process is the most frequent symptom, but other situations can occur even if only occasional contact is made between the motherboard and the case.
Examine how your motherboard is installed. Check that you used the standoffs that keep the motherboard from contacting the case and ensure that any unsupported portions of the motherboard haven’t bent toward the case’s interior. Also, check that all internal wires are properly shielded with a rubber or plastic exterior.
No case power button connection
The power button on a computer’s case connects to the motherboard through a small, thin two-pin wire. Without this important but easy-to-miss connection, your computer won’t start. That’s because the motherboard never receives the command to do so if you press the power button when the wire isn’t connected to the proper pins on your motherboard. Hard to believe that a bent or misaligned pin could cause you so much grief, but with a steady hand and steely resolve, this issue can be remedied. Note that attempting to straighten pins can easily cause them to break and require you to replace components like your CPU, so think long and hard before trying it yourself.

Connecting the power button can be difficult. Unlike so many other motherboard connectors, which are designed to make improper installation impossible, the power button connector usually is labeled only with small symbols like Pwr+ and Pwr-. Matters are made worse by the fact that the front power button’s connection is part of a cluster of connections, so accidentally connecting power to pins that control the reset button or hard drive light are easy mistakes to make.
To solve this issue, you’ll need the manual to confirm where the power button connector goes, and you (might) need a magnifying glass to properly align the connection with the pins. If you can’t find your manual, your motherboard’s manufacturer should have a PDF version of it on the company’s site. Just search for your motherboard’s model number.
UEFI/BIOS hardware incompatibility
The Unified Extensible Firmware Interface (UEFI) and Basic Input/Output System (BIOS) connect your PC’s firmware to its operating system. They help remind your computer what it is and what it’s supposed to do when first turned on, and that includes spotting any hardware errors.
Motherboards ship from the factory with a BIOS or UEFI that can handle contemporary hardware, but they’re not guaranteed to work with any hardware that gets released after they ship. Just because a processor is new doesn’t mean that it will be compatible. You will likely have to update to a BIOS or UEFI for it to function.

If this happens, your computer might refuse to boot your operating system after POSTing, or it might not POST at all. Luckily this is a minor inconvenience with a quick fix. First, re-install whatever old hardware you removed to confirm the issue and boot your computer. Once the old hardware’s in, you can boot your computer, go to your motherboard manufacturer’s website, and find the latest BIOS/UEFI version. After installing the latest BIOS/UEFI version is complete, you can re-install your new hardware.
Conclusion
You may find it difficult to troubleshoot a motherboard, but with a little patience and perseverance, you’ll figure it out. You’ll be grateful to have acquired this valuable skill for future PC building endeavors. The experience you gain by replacing your motherboard gives you the potential to use the same computer for a decade (or more) by replacing the internals when necessary. Don’t be intimidated; the problems above, though far from uncommon, can be handled with a little patience. At the same time, there’s no shame in contacting the manufacturer or a computer repair technician if you feel out of your depth or lack the fine motor skills needed.
Editors’ Recommendations
The post The Most Common Motherboard Problems, and How to Fix Them appeared first on TechFans.